This guide explains how to print a document using the Kyocera Custom Box function.
The Custom Box feature allows you to send a print job to a Kyocera device without printing immediately. The job is held on the printer in the custom box that you tell it to until you release it at the device.
This example uses Microsoft Word with the Kyocera KX Print Driver.
Step 1: Prepare your document
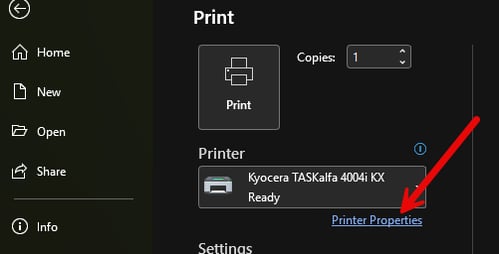
- Go to File → Print
- Select your Kyocera device
- Click Printer Properties or Preferences
Step 2: Enable Print to Custom Box
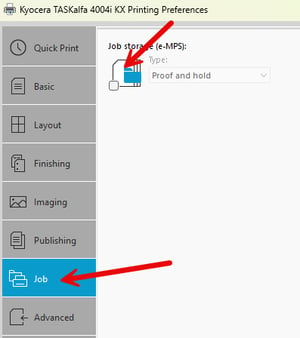
- In Printer Properties, select the Job tab on the left
- Enable Job Storage
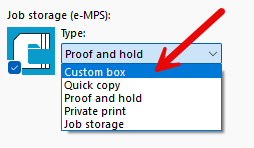
- Choose Custom Box as the job type
- Click OK
Step 3: Print the Document
- Select any additional print options you need (e.g., duplex, number of copies, color options)
- Click Print
- You will then be prompted to enter the Custom Box number you would like to save the file to and if that Custom Box requires a password you will have to enter it.
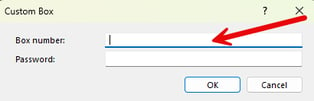
- Your document is now sent to the printer and stored in that Custom Box , waiting to be released.
Step 4: Release the Print Job at the Kyocera Device
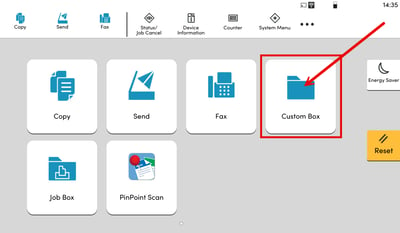
- On the printer screen, tap the Custom Box icon
- Select the Custom Box.
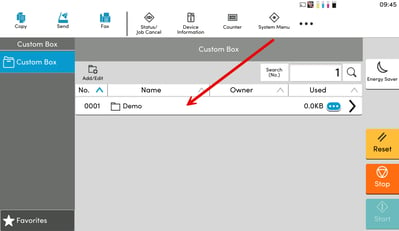
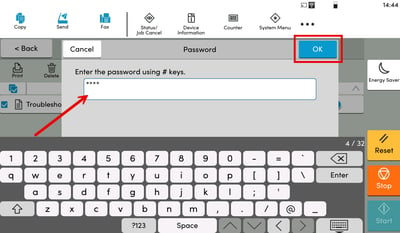
- Enter the password if required and press OK
- Select the print job(s) you want to release
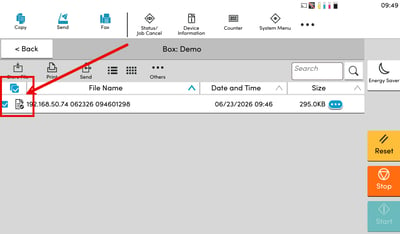
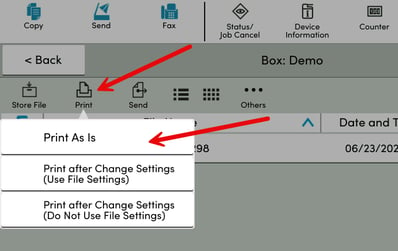
- Tap Print then Print As Is
- Enter the password you assigned earlier and press OK
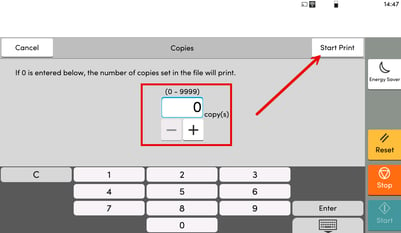
- (Optional) Adjust the number of copies if needed
- Press Start Print