This guide explains how to add a user or destination to the internal address book on a Kyocera TASKalfa MFP. Once the new Address Book is created - it can also be added to the One-Touch Keys.
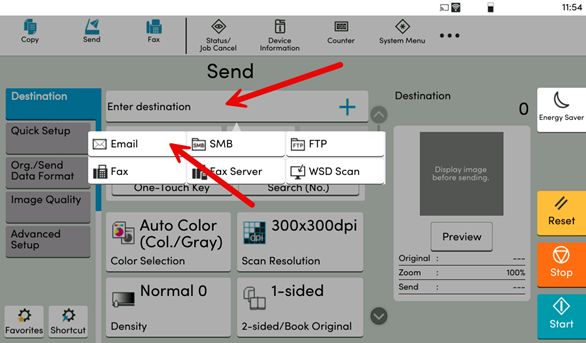
Step 1: Add destination or email address within Send Menu.
- On the Kyocera touchscreen, select the Send icon.
- Ensure you are on the Destination tab on the left side of the screen.
- Select Enter Destination and then the Email Option.
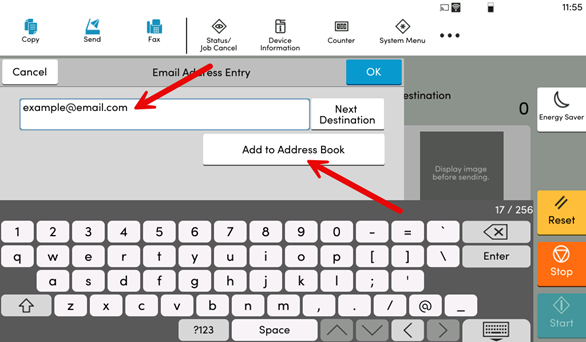
Step 2: Enter Email and select Add To Address Book
- Enter an email address which you would like to add to the Address Book.
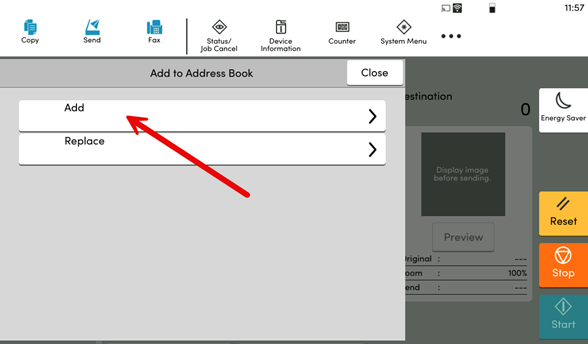
Step 3: Select Add
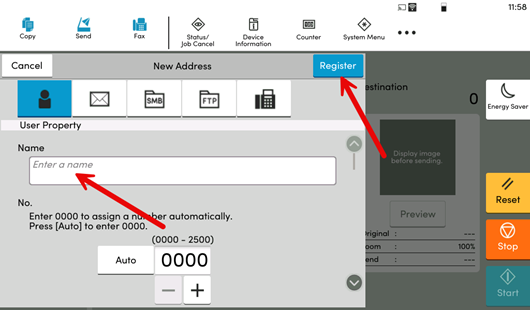
Step 4: Update User Properties
- Add the Name of the Recipient into the property provided.
- Other items can be added here as well such as user number if you wish to add one or SMB if one is available.
- Select Register to save these settings.
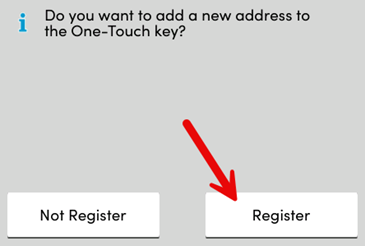
Optional - Step 5: Select Register to save user to One-Touch Keys.
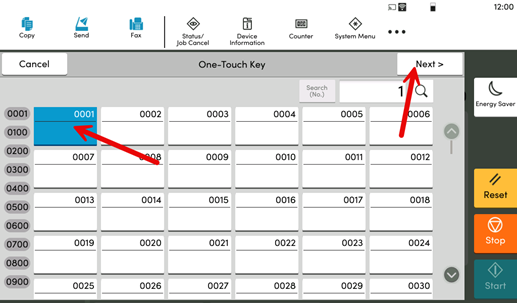
Step 6: Select One-Touch Key location
- Select the next available One-Touch Key location – it will highlight Blue when selected. Then tap on Next>.
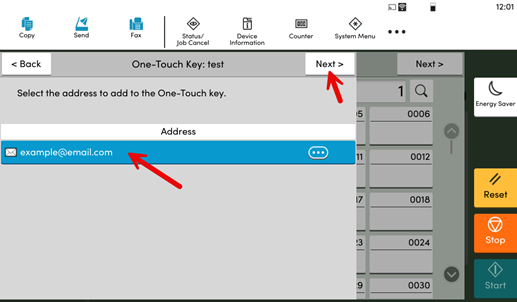
Step 7: Confirm One-Touch Key Destination Email
- Select the Destination email to confirm it – it will highlight Blue when selected. Then tap on Next>.
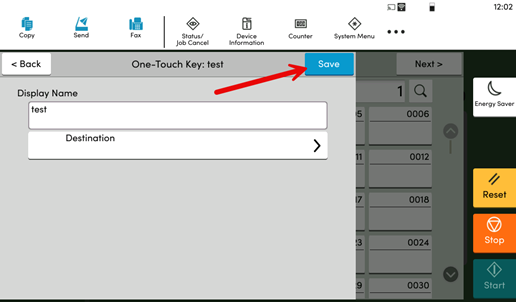
Step 7: Confirm One-Touch Key Destination Email
- Confirm the name you wish to save and select Save.
- Your Address Book and One-Touch Key will now be saved to the machine.